Have you found a new library or tool on GitHub that lacks functionality or needs improvements? Then you could contribute to the project on GitHub and help the developers and other users along the way! In this post we will go over the basics of GitHub open source contribution so you can start to contribute to your favourite projects and packages!
Prerequisites
Basic knowledge of Git and running commands in the terminal.
1. Find a project that you would like to contribute to
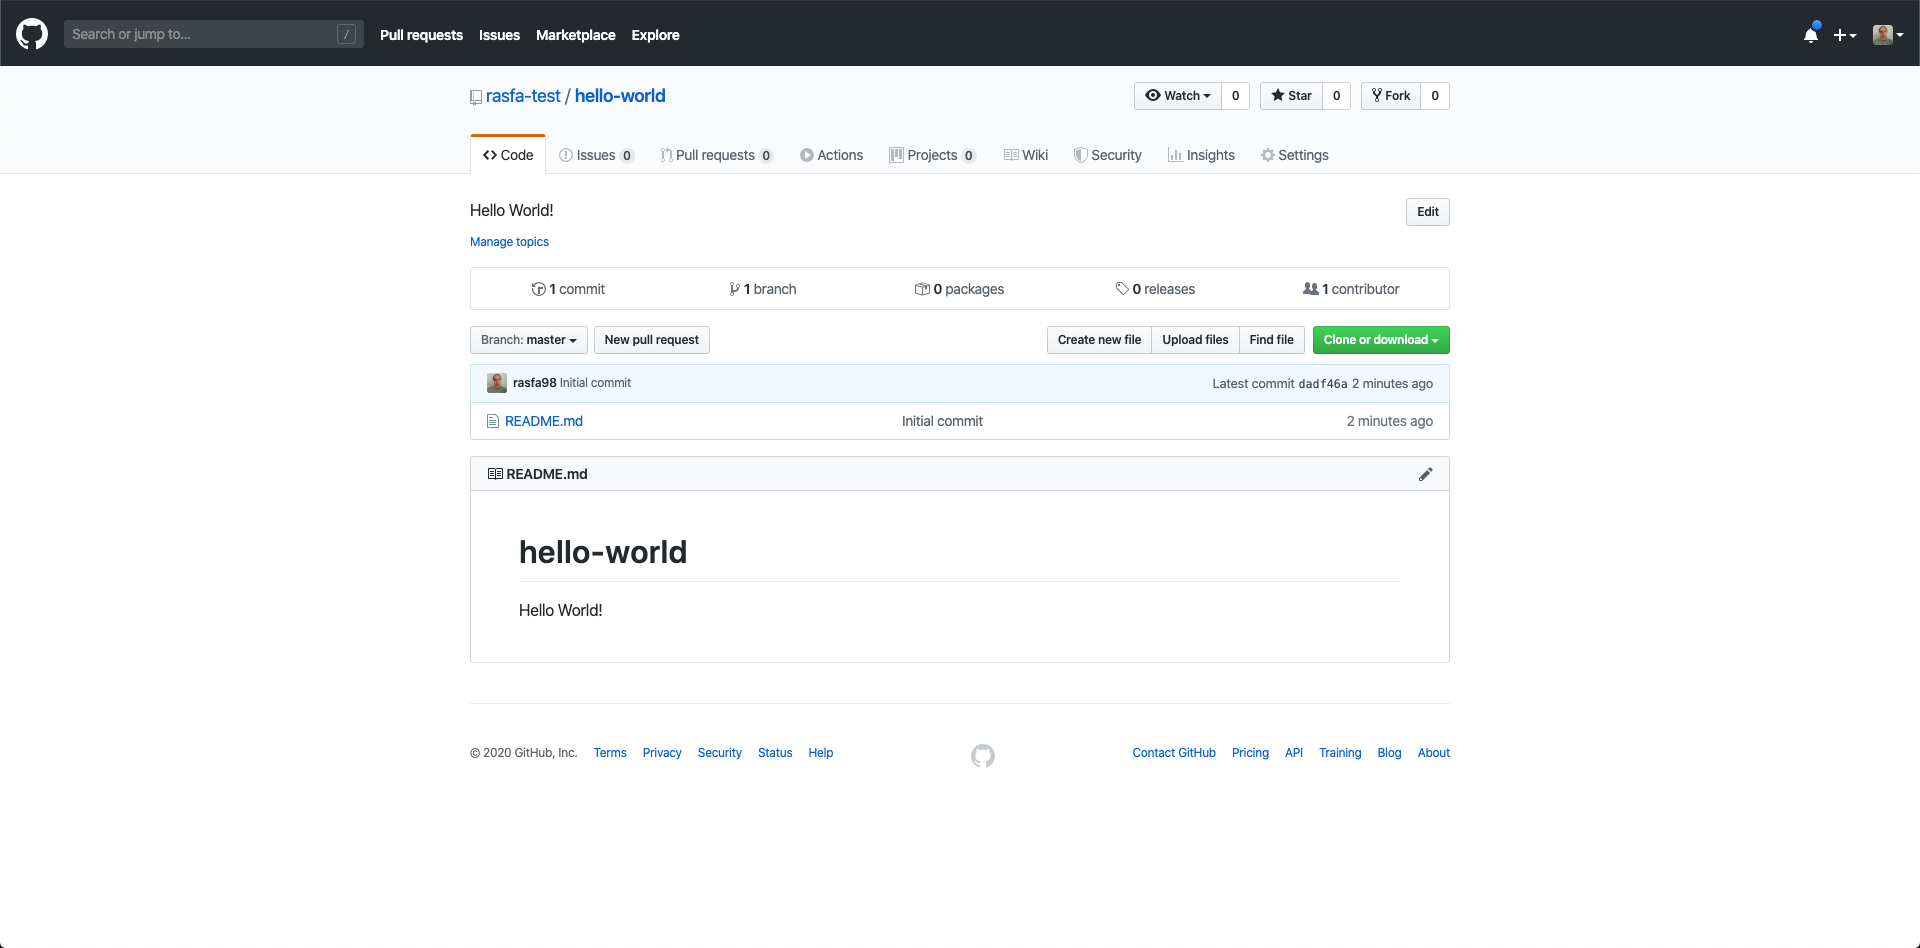
In this post we will update the README.md for the project hello-world which is an example project used to show the basics of open source contribution.
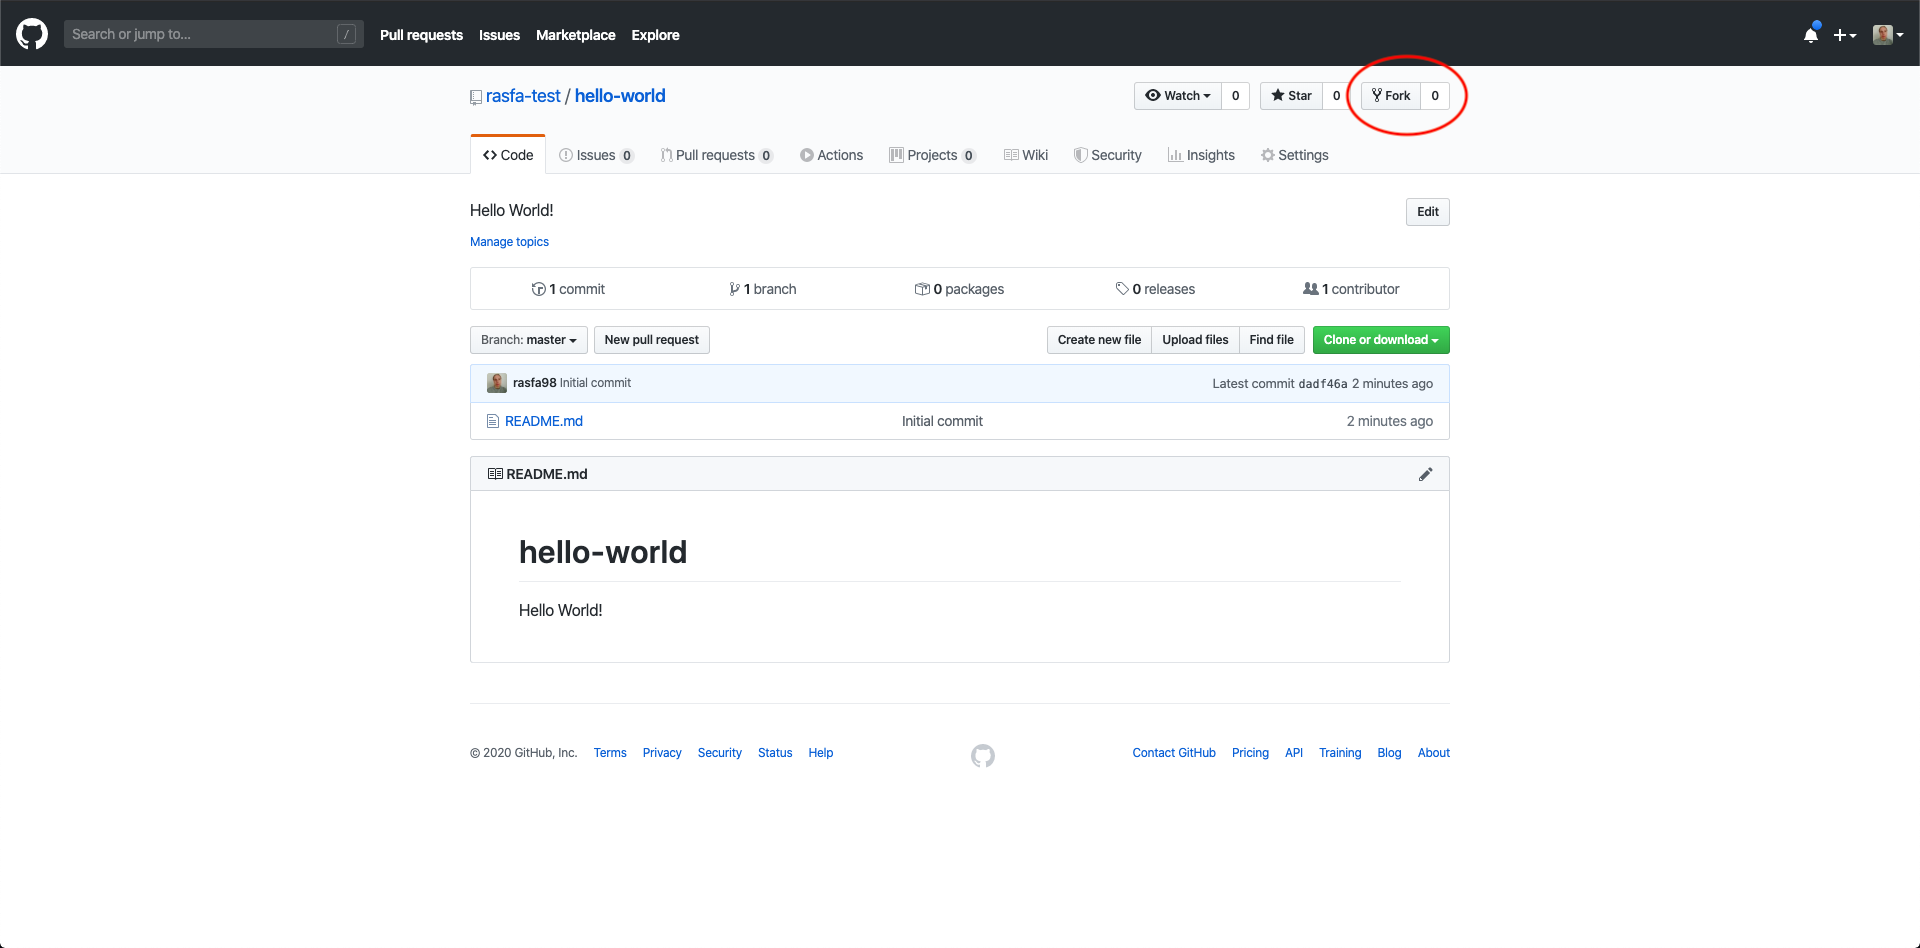
2. Fork the project
We start by forking the project, pressing the Fork button in the top right corner. Then we select the account/organization that we would like to fork the project to.
The project will then be forked to our selected account/organization, usualy it will not take that long but it depends on the size of the repository.
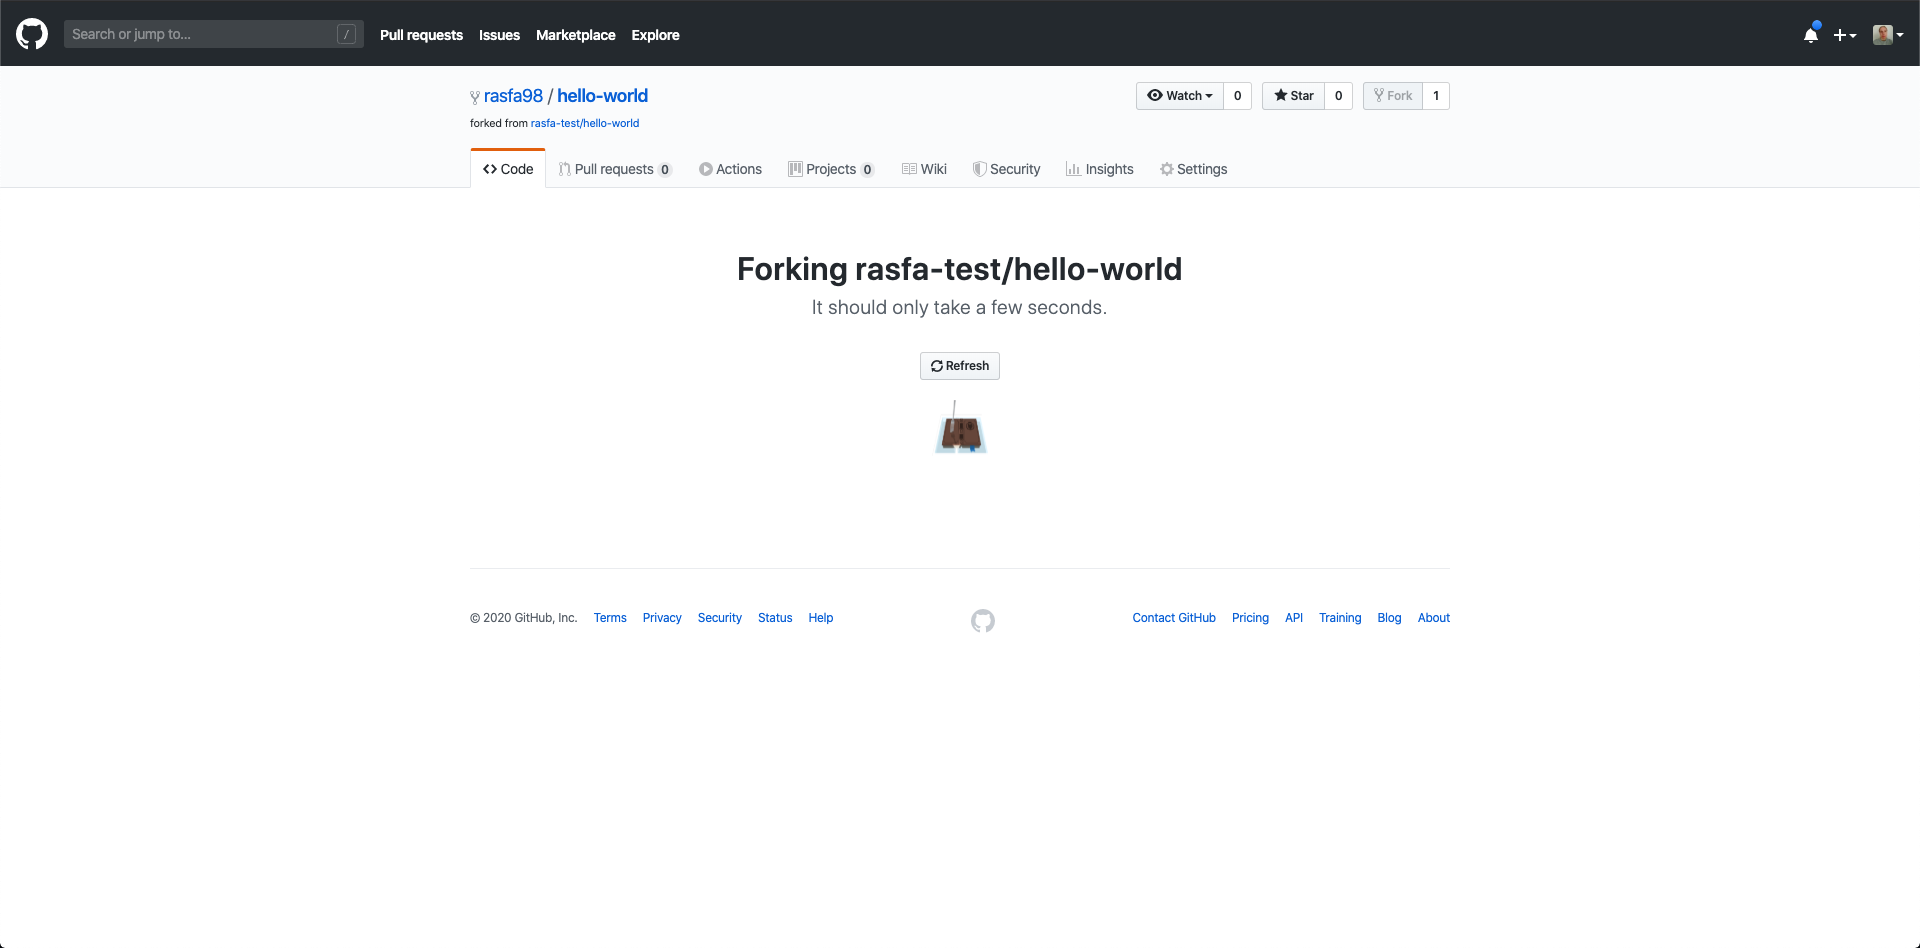
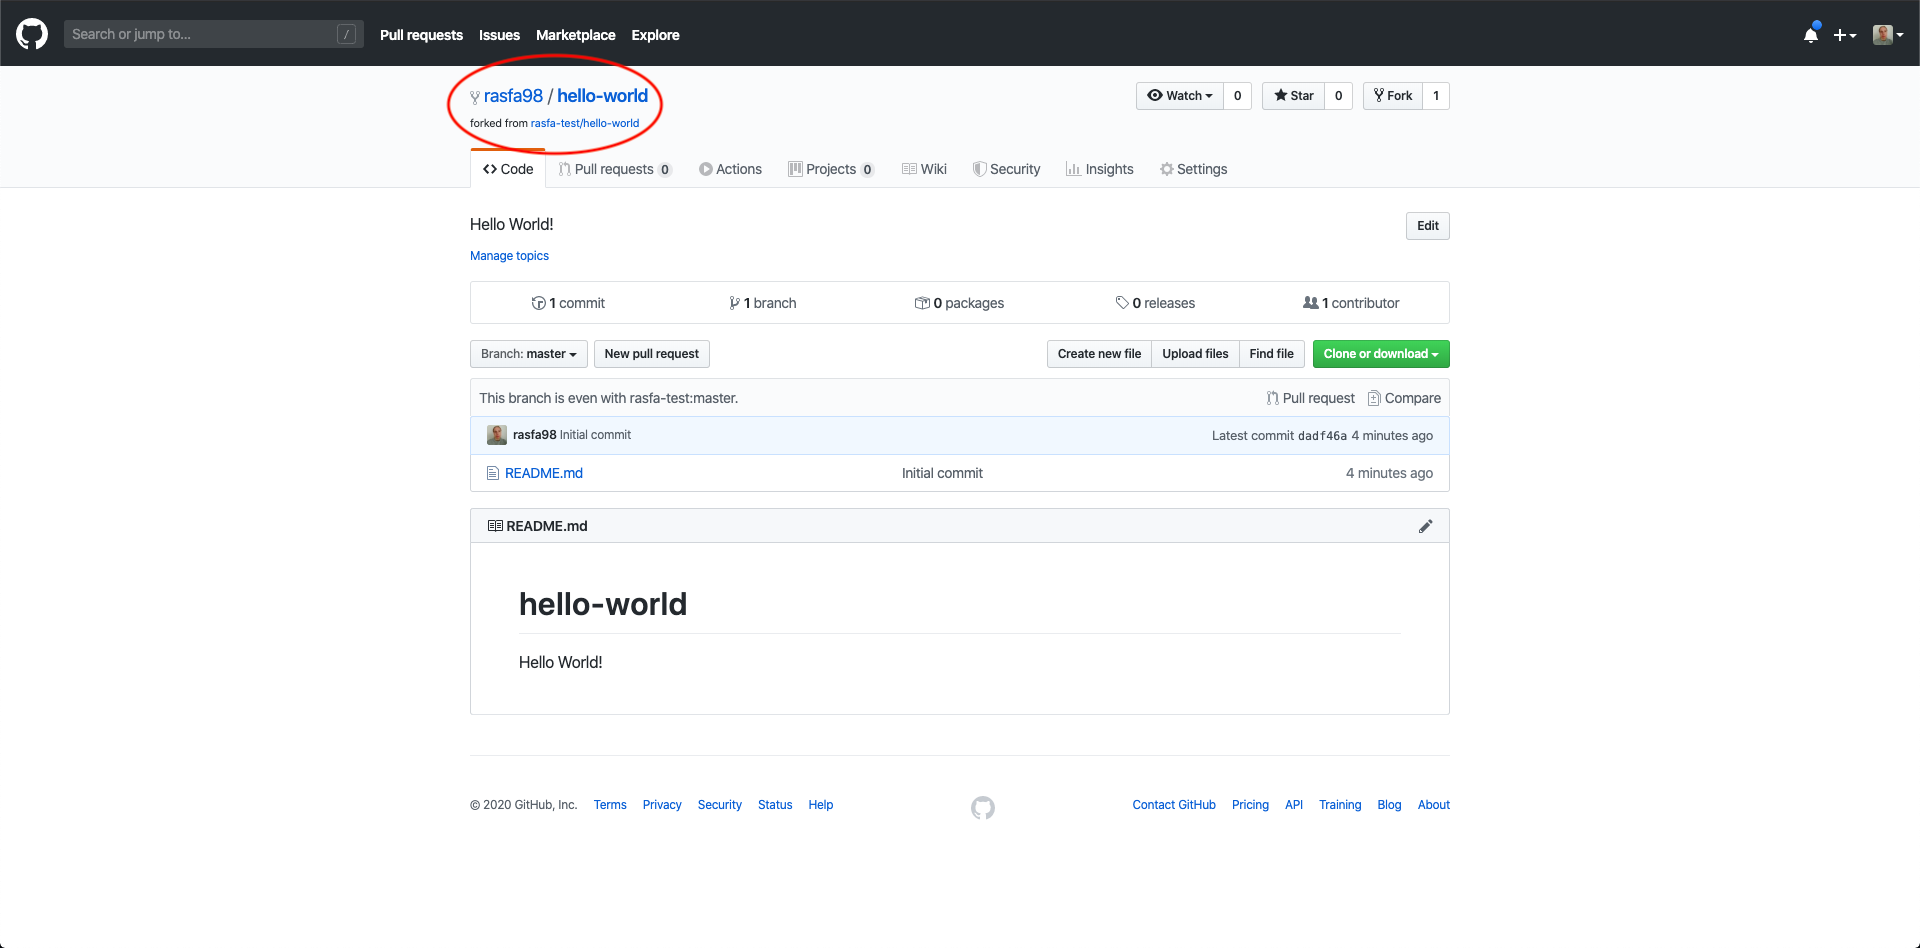
Once the process has completed we will have a copy of the repository on our own account and it will be shown in the list of repositories. We will make our changes in this version of the repository.
Clone the forked repository
Now we want to clone the repository to our machine in order to make the changes. In order to get the https/ssh URL of the repository we press the Clone or download button.
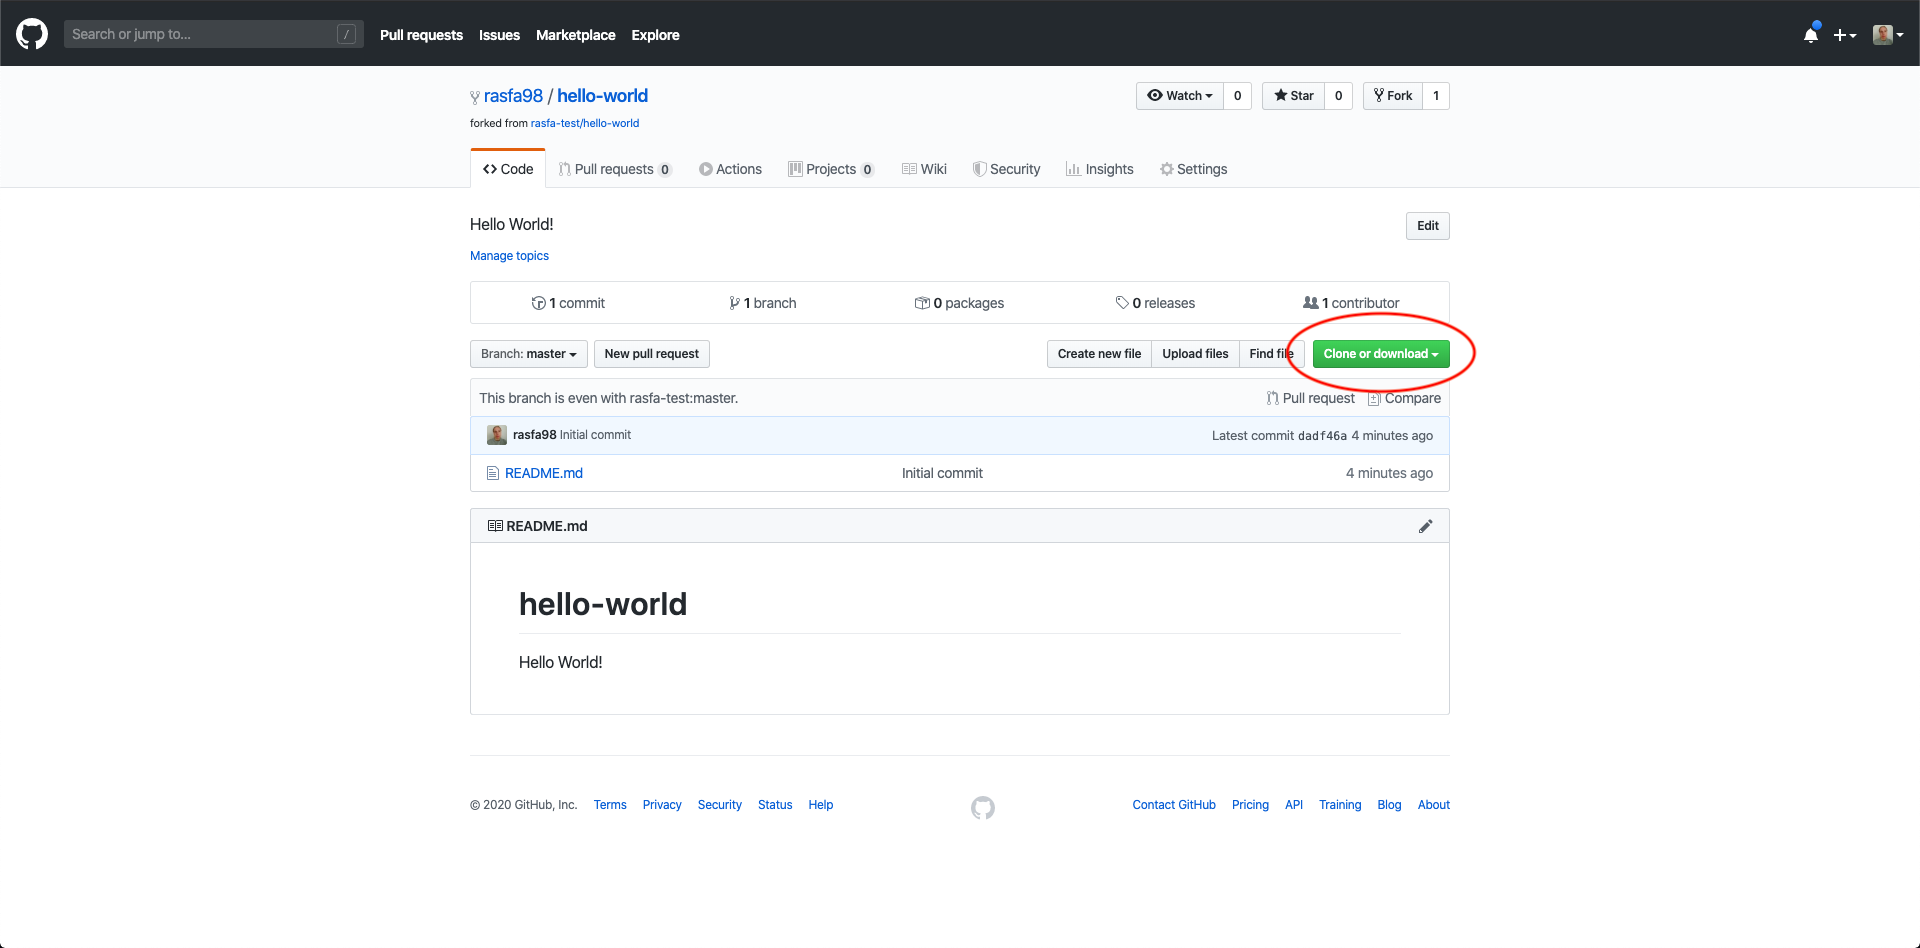
Then we just copy the https/ssh URL, we will use https in this example.
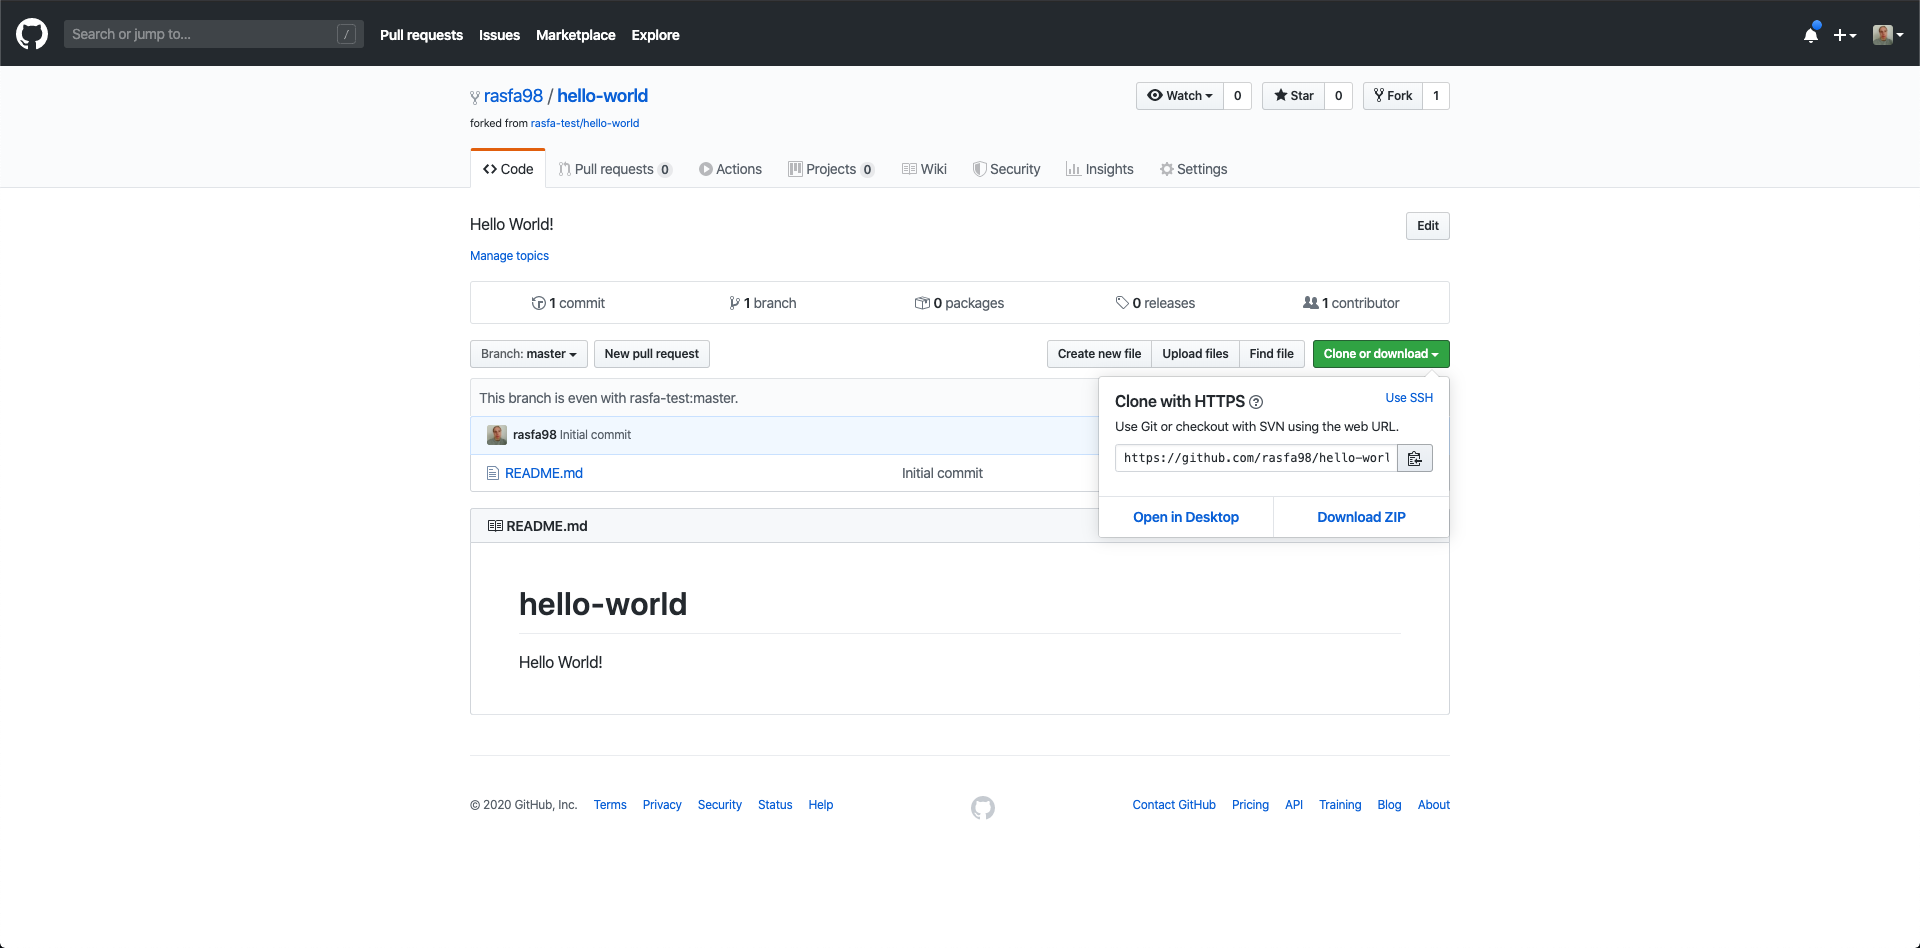
Now we open our terminal and run the following command in order to clone the repository
git clone https://github.com/rasfa-test/hello-world.git
Make your changes
Before we start to make any changes we want to create a new branch
git checkout -b docs/update-readme
Now we make our changes, in this example we will add a Chuck Norris joke to the README.md and update the headline.
Push your changes
When we are happy with our changes we want to push them to the repository on GitHub. We start by adding our modified files
git add .
Then we create a new commit
git commit -m 'Update README.md'
Then we push the changes
git push origin docs/update-readme
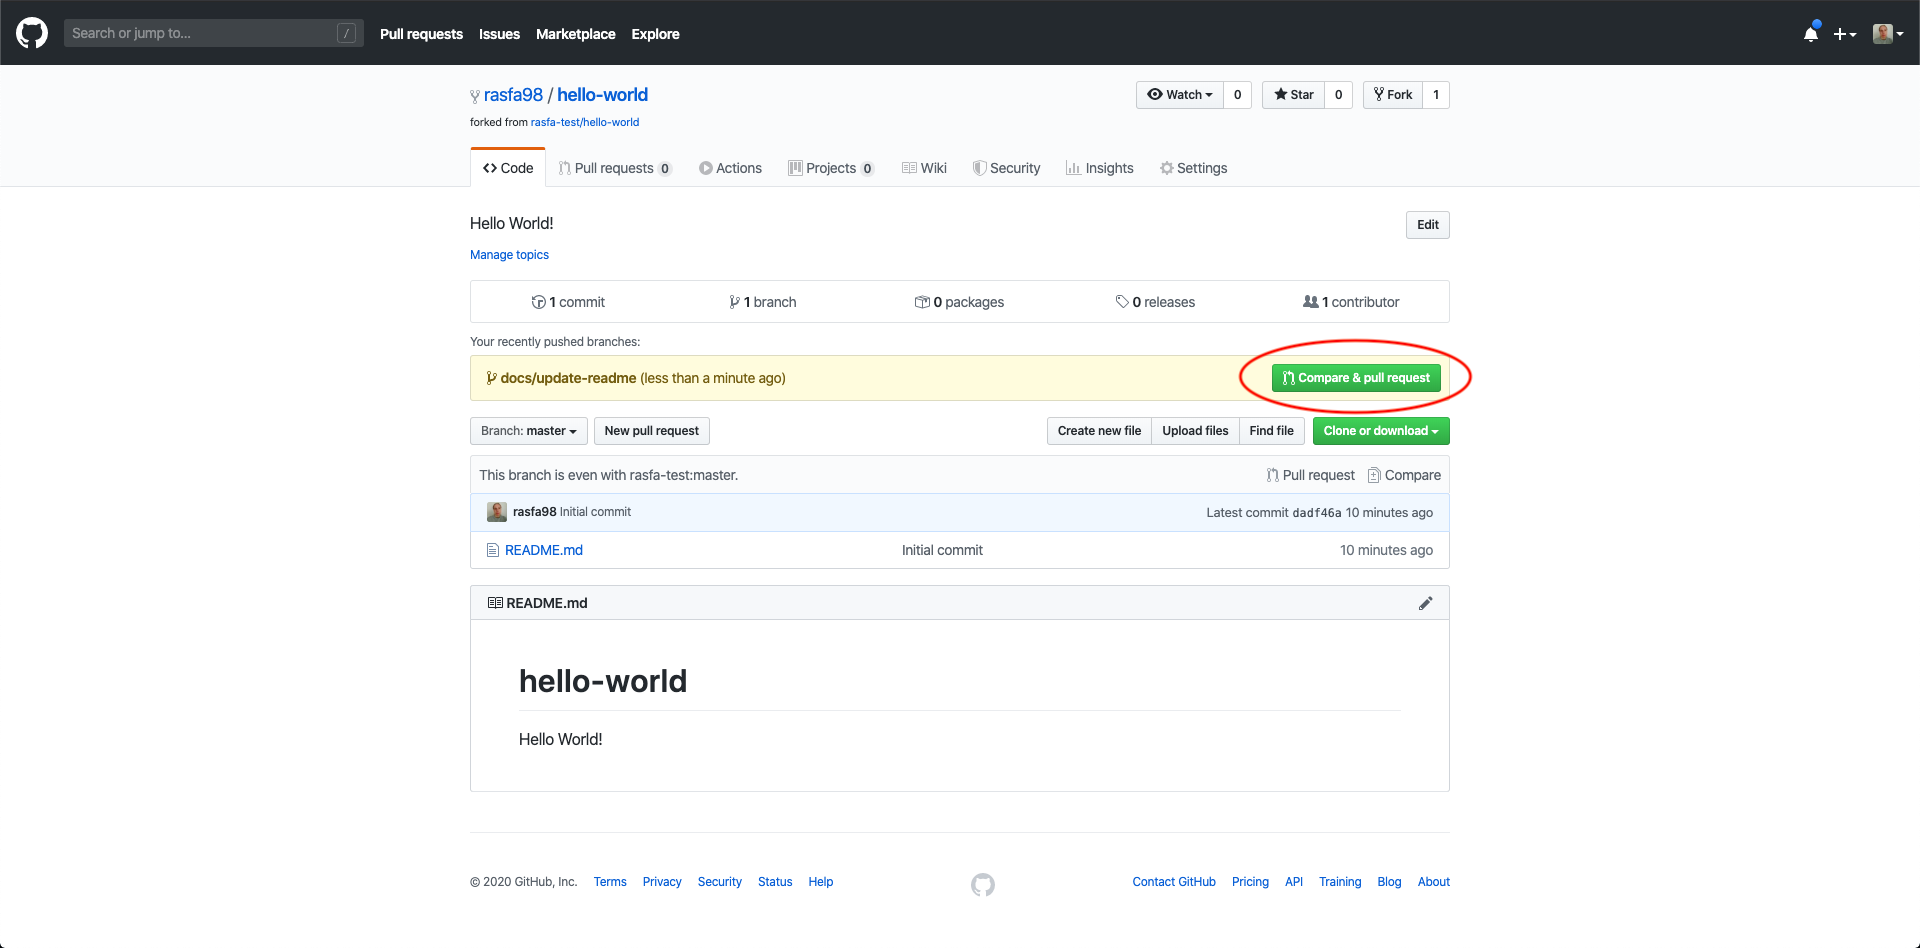
Create a pull request on GitHub
Now if we go to our forked repository on GitHub we will see that there is a notice that asks if we would like to create a new pull request. We can create a new pull request by pressing the Compare & pull request button.
As we can see the base repository is rasfa-test/hello-world and the head repository is rasfa98/hello-world. This means that our changes will be merged into the original repository from our forked version of the project.
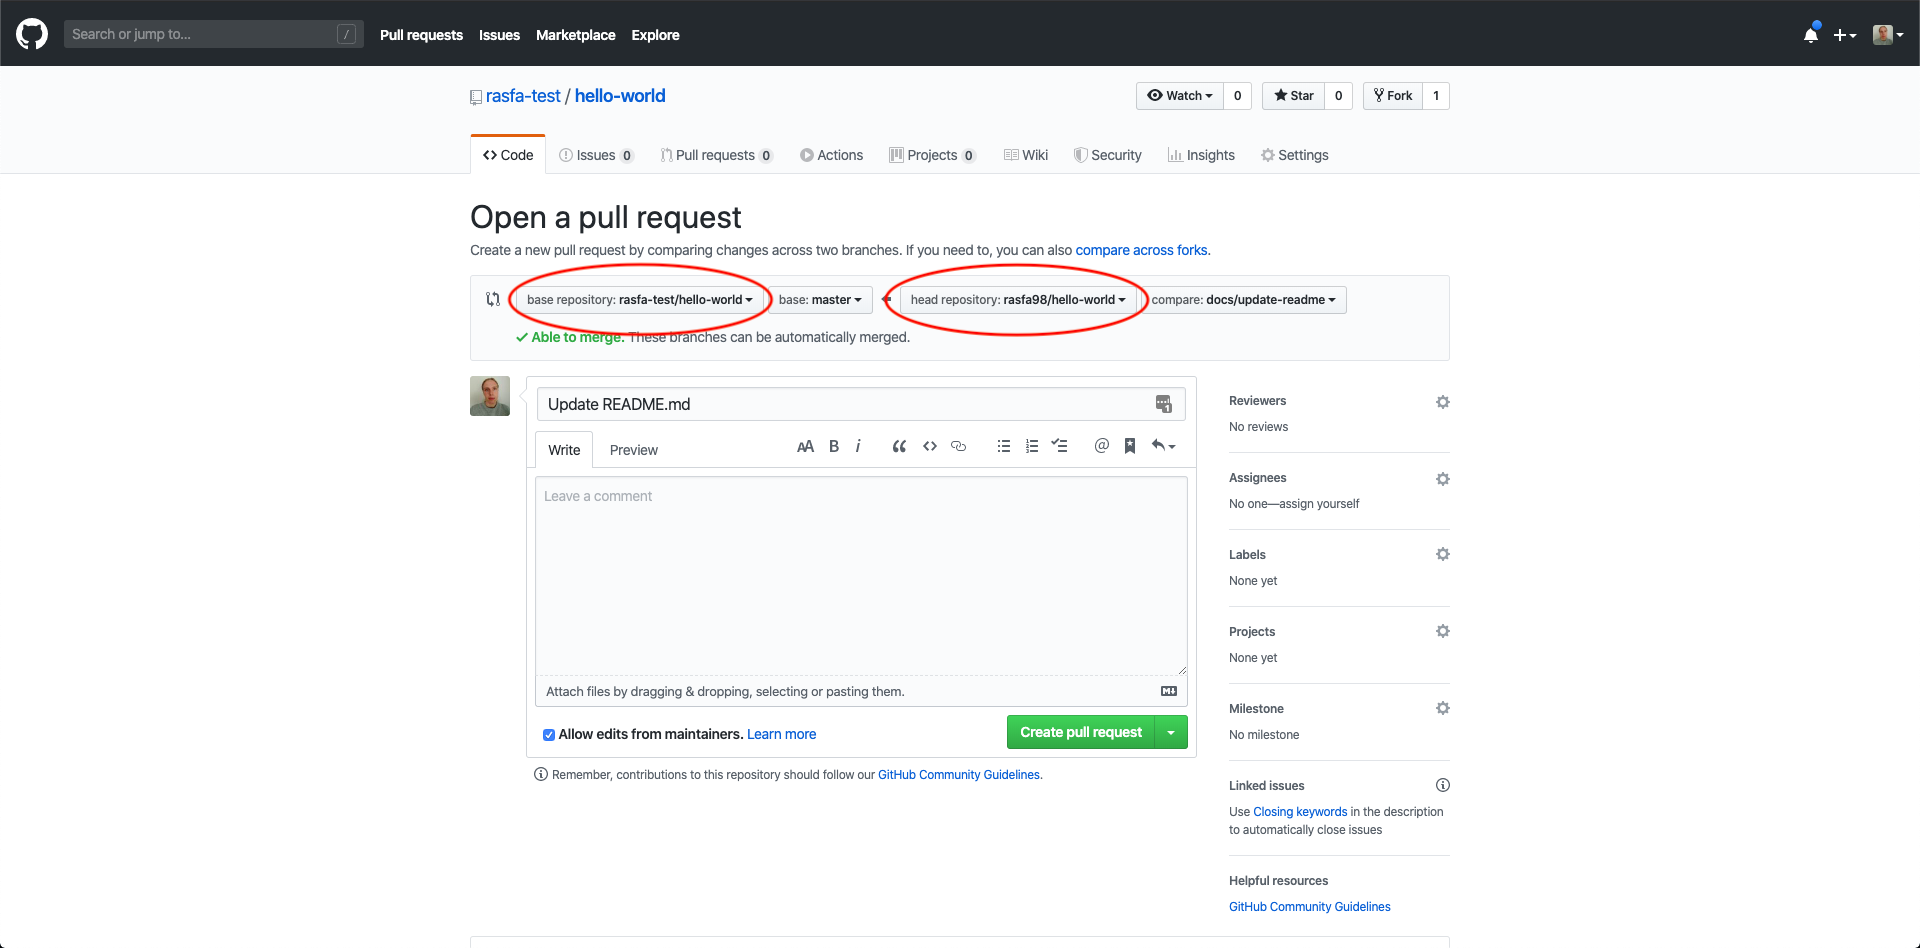
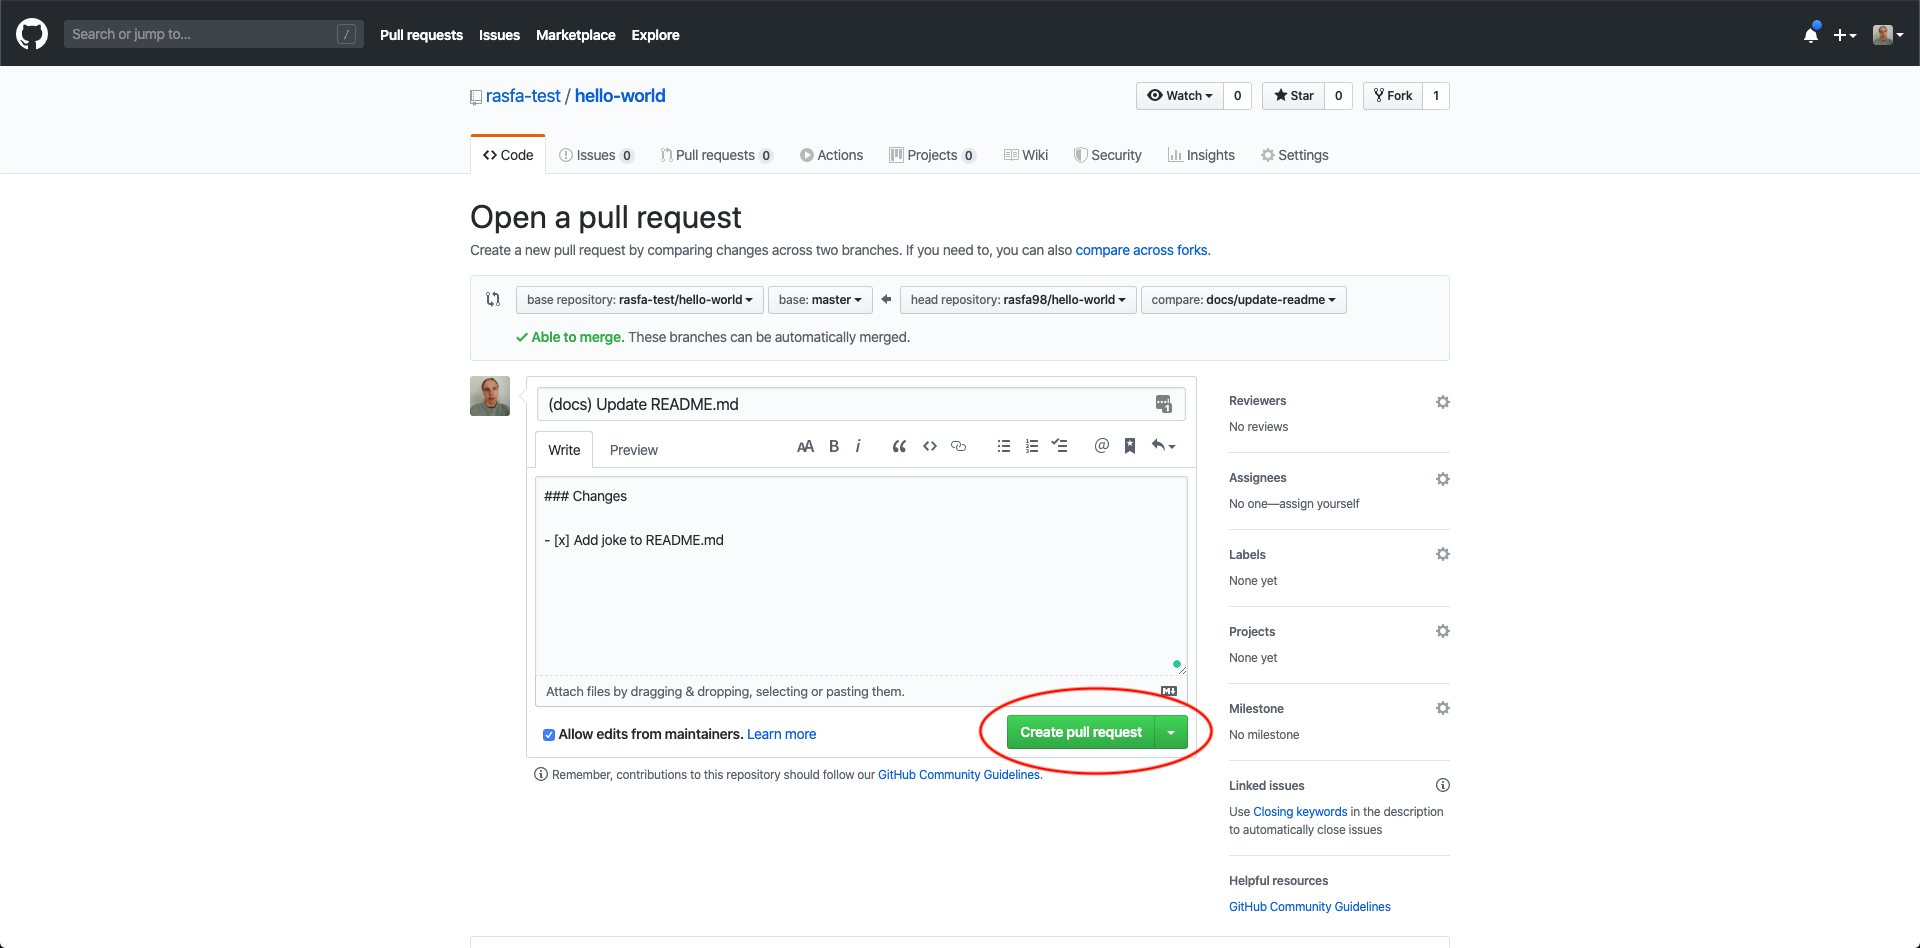
We add a good title and list our changes. Then we press the Create pull request button when we are done.
A new pull request has now been created and if we go the the list of pull requests for the original repository we can see that our pull request is listed. Now we just have to wait until our changes has been approved by the owner of the project!

Once approved
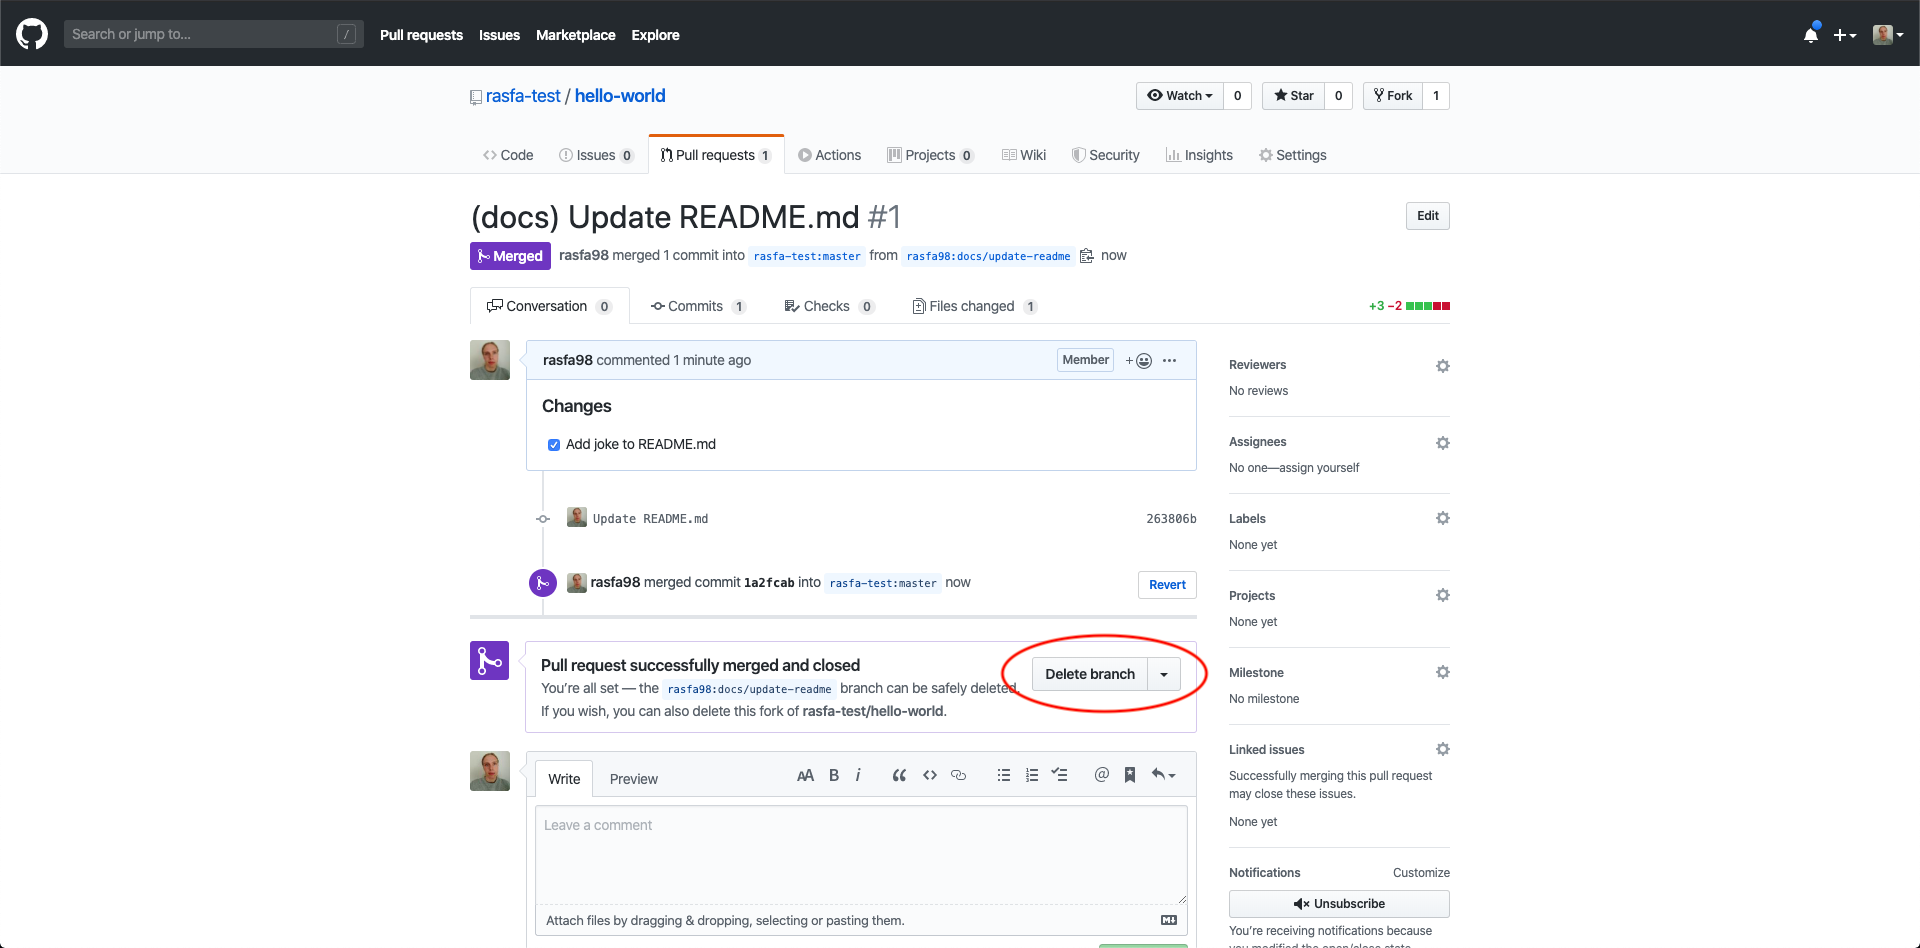
When our changes has been approved and merged we want to delete the branch. We do this by pressing the Delete branch button found at the bottom of our pull request.
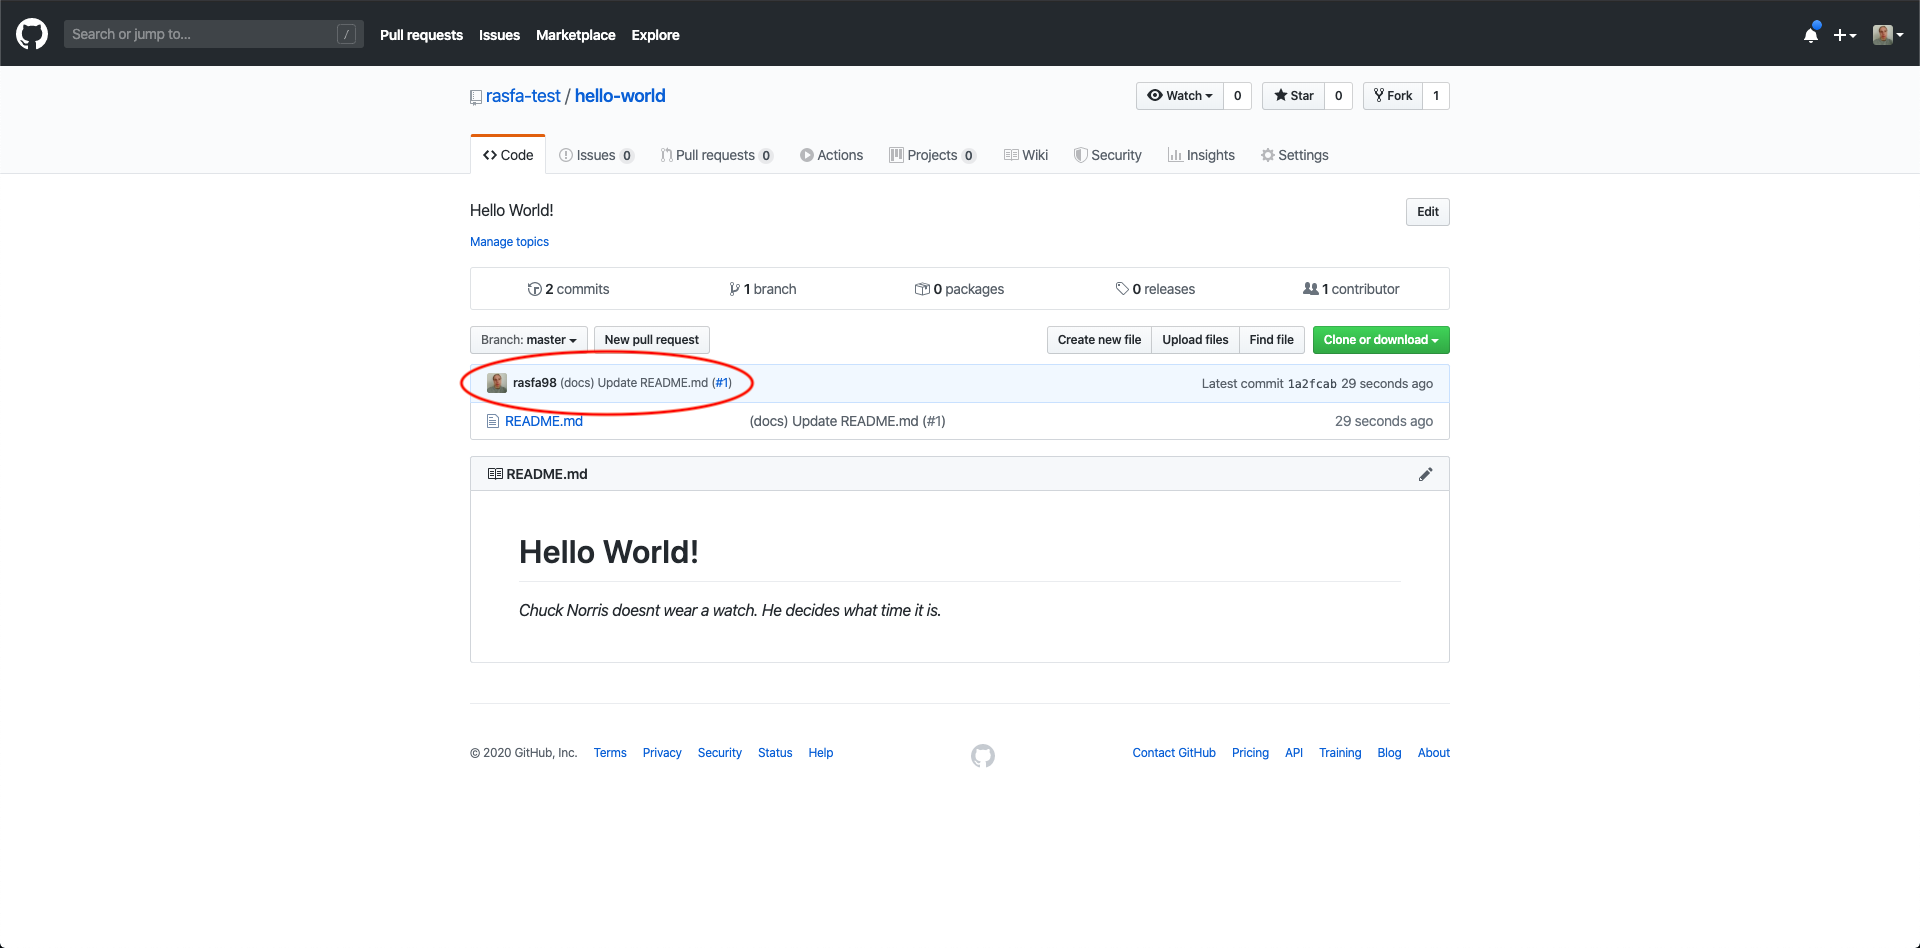
Now if we go the the repository that we have contributed to, we should see our changes together with our commit!
Conclusion
Now you know the basics of open source contribution on GitHub and hopefully you can start to help other developers with their awesome projects!